How-To7 min read
The prep steps that make paint last for years
Nobody photographs the preparation. It is still the part of the job that decides whether your finish looks sharp in five years or tired in eighteen months.
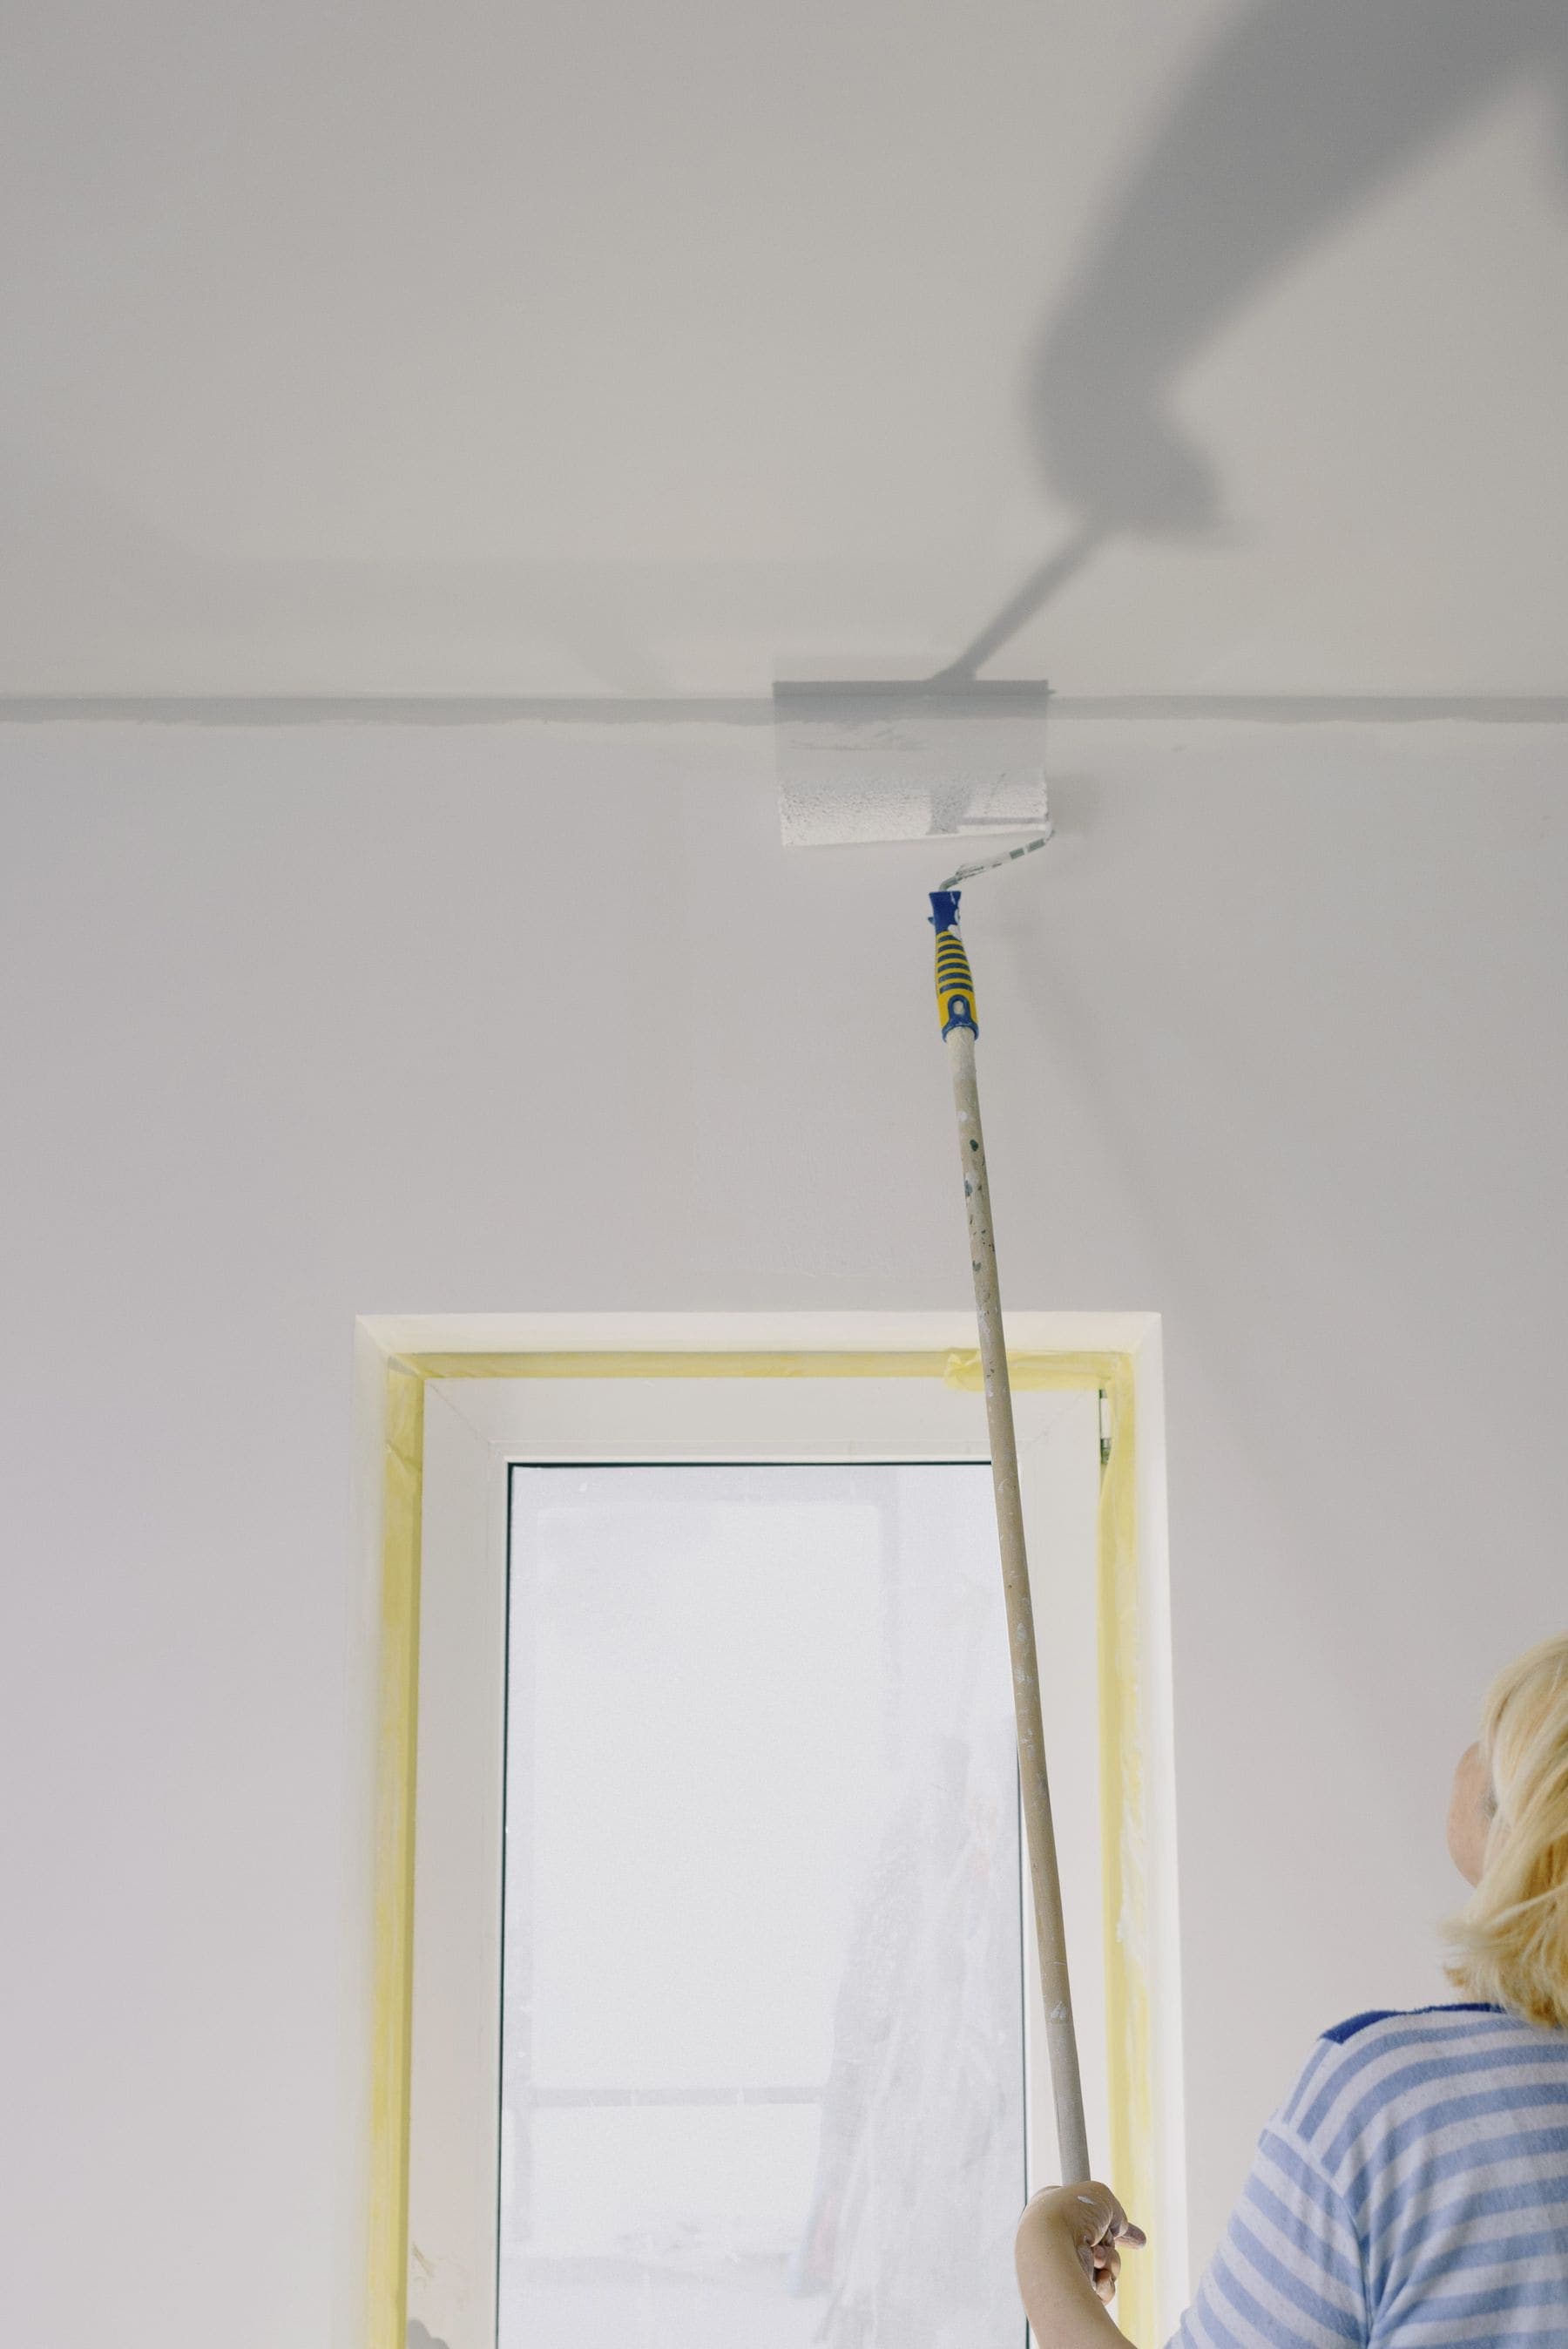
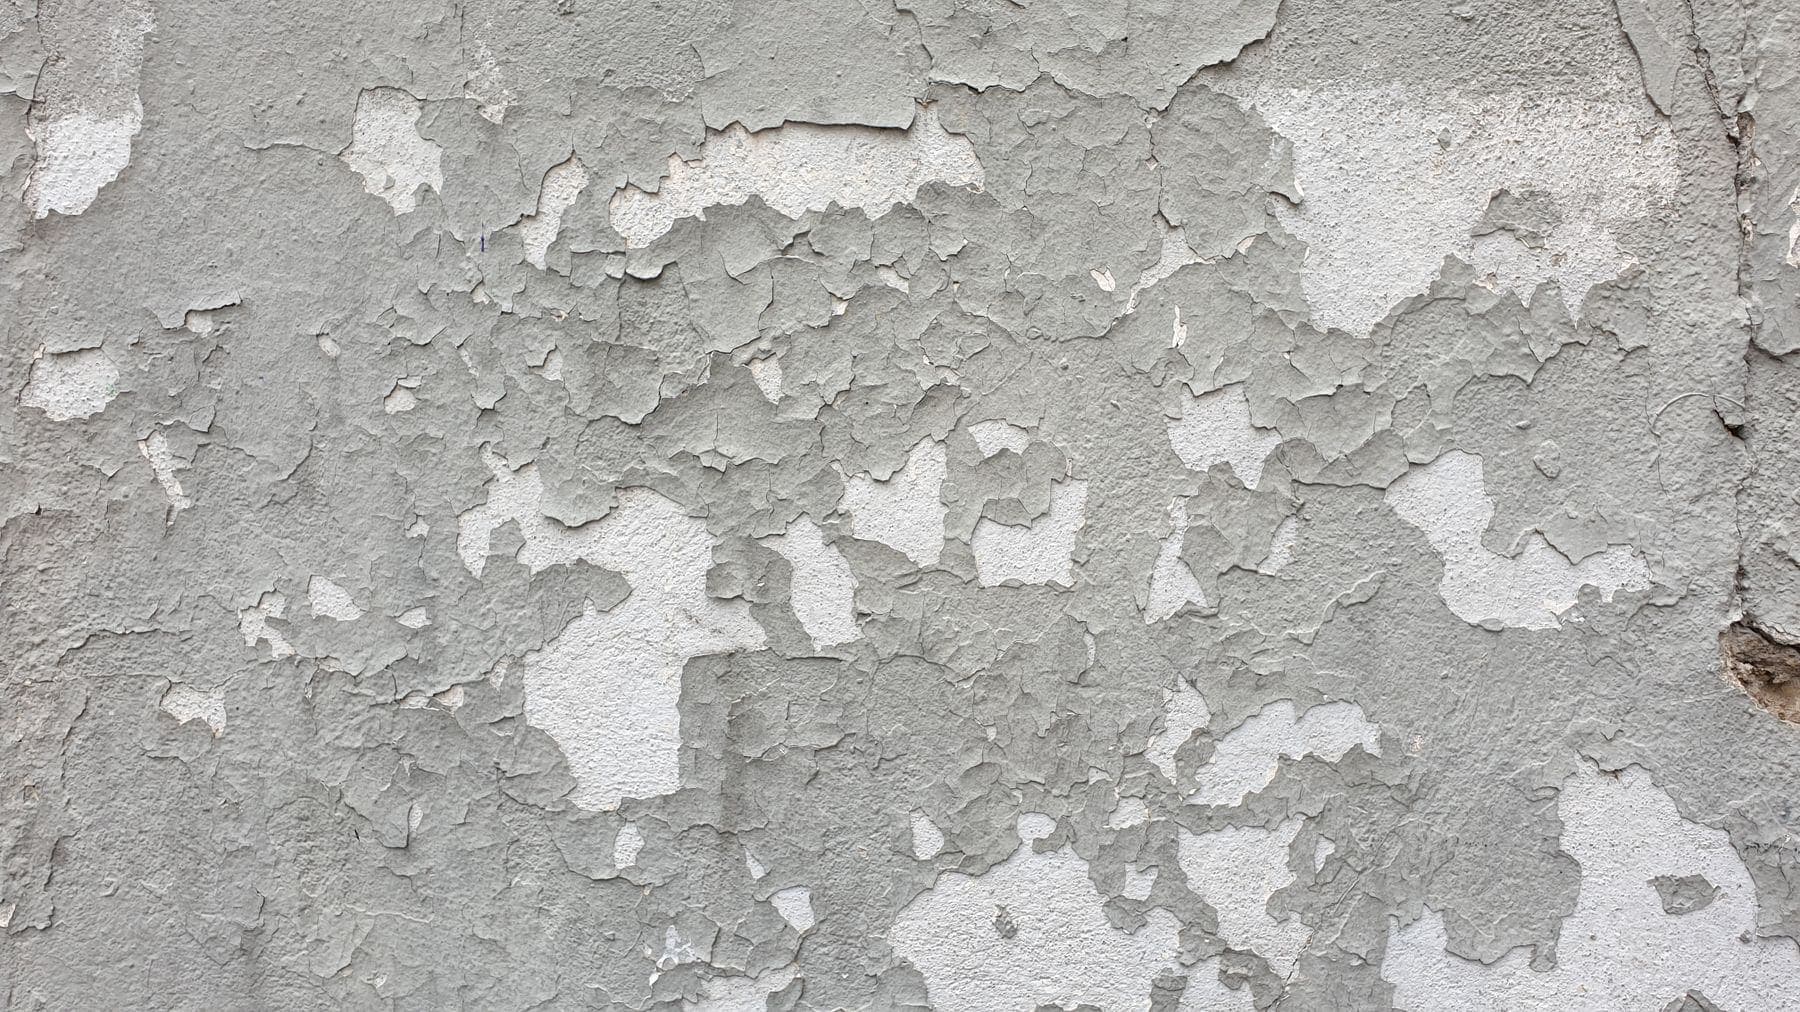
Paint does not stick to dirt, grease, gloss or moisture. Every premature failure we are ever called out to fix traces back to one of those four, and every one of them is solved before a tin is opened.
1. Clean properly
Interior walls carry more airborne grease than people expect, especially near kitchens. Exteriors accumulate dust, pollen, chalking and mildew. Washing down — pressure washing outside, sugar soap inside — is the least glamorous step and the least skippable.
2. Repair before you coat
Cracks, nail pops, dents and open joints all need filling and sanding flush. Paint does not bridge a gap; it settles into it and highlights it. On exteriors this extends to replacing rotten timber and re-caulking failed joints.
3. Sand and de-gloss
A new coat needs mechanical grip. Sanding knocks back the existing sheen and gives the primer something to key into. Any previously glossy surface — trim, doors, cabinetry — must be de-glossed or the new film will peel off in sheets later.
4. Mask with intent
Good masking is what produces the razor-sharp lines people notice at handover. Tape is pressed down firmly along its edge, and pulled while the paint is still slightly soft so the film separates cleanly instead of tearing.
5. Prime the right things
Not every surface needs a full prime coat, but some absolutely do: bare substrate, patched areas, stains, tannin-prone timber, and any dramatic colour change. Spot-priming repairs also prevents "flashing", where patches show through as dull marks in the finish.
- Wash and degrease every surface.
- Fill, repair and replace what is damaged.
- Sand flush and de-gloss anything shiny.
- Mask edges and protect floors and fixtures.
- Prime bare, patched, stained or drastically recoloured areas.
- Only then apply your finish coats.
None of this is complicated. It is simply time, and it is the reason a properly prepared wall still looks sharp long after a rushed one has failed.

Written by
Daniel Brivon
Founder & Lead Painter, Brivon Painting